Uncover the amazing benefits of DIY facials and enhance your skincare routine.
In today’s fast-paced world, self-care has never been more crucial. With hectic schedules and daily stresses, finding time to pamper yourself can feel like a luxury. However, self-care doesn’t always have to mean a trip to the spa or an expensive salon treatment. You can indulge in a rejuvenating facial in the comfort of your own home. In this comprehensive guide, we’ll walk you through the steps and techniques needed to master the art of DIY facials and achieve that radiant, spa-like glow right at home.

ALSO READ: Homemade Face Packs: The Ultimate Guide To Homemade Face Packs For A Relaxing Weekend
Why opt for DIY facials?
Before we dive into the step-by-step guide, let’s discuss the benefits of choosing DIY facials over professional treatments. Not only are they more cost-effective, but DIY facials also offer several advantages:
- Cost-Effective: Spa and salon facials can be quite expensive. DIY facials allow you to achieve similar results without breaking the bank.
- Convenience: You can enjoy a facial whenever it’s most convenient for you, without having to schedule an appointment or commute to a spa.
- Personalized Skincare: DIY facials enable you to tailor your skincare routine to your specific needs and preferences.
- Regularity: With DIY facials, you can treat your skin regularly, ensuring long-term benefits.
The ultimate DIY facial guide
Step 1: Gather your supplies
Before you begin your DIY facial, it’s essential to gather all the necessary supplies. Here’s a checklist of items you’ll need:
- Cleanser
- Exfoliator
- Steam
- Face mask
- Toner
- Moisturizer
- Serum
- Bowl of warm water
- Towel

ALSO READ: The Ultimate Guide To Homemade Natural Night Cream With Aloe Vera For Glowing Skin
Step 2: Start with cleansing
The first step in any facial routine is cleansing. Use a gentle cleanser to remove dirt, makeup, and impurities from your face. Cleansing sets the stage for the rest of the facial, ensuring that your skin is clean and ready to absorb the following products.

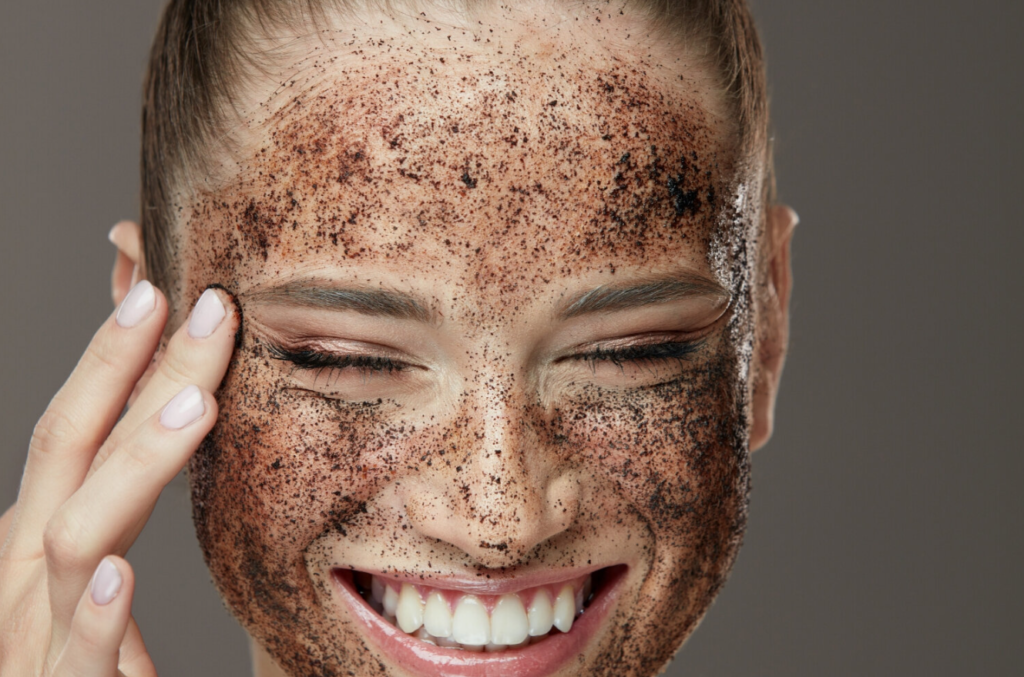
Step 3: Exfoliation
Exfoliating your skin helps remove dead cells and promotes a healthy, radiant complexion. Choose an exfoliator that suits your skin type and gently massage it onto your face in circular motions. Be sure to avoid the sensitive eye area.
Step 4: Steam your face
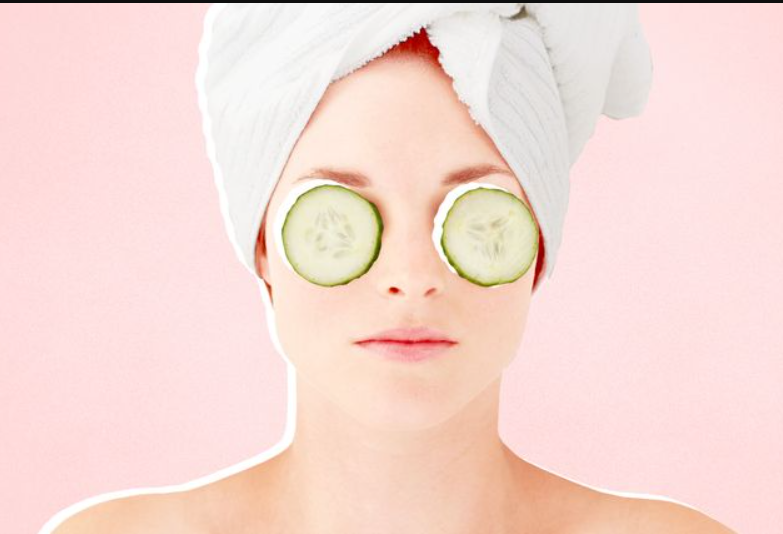
Steaming your face helps open up your pores, making it easier to remove impurities. You can use a bowl of hot water or invest in a facial steamer. Place a towel over your head and lean over the steam source for approximately 10-15 minutes.

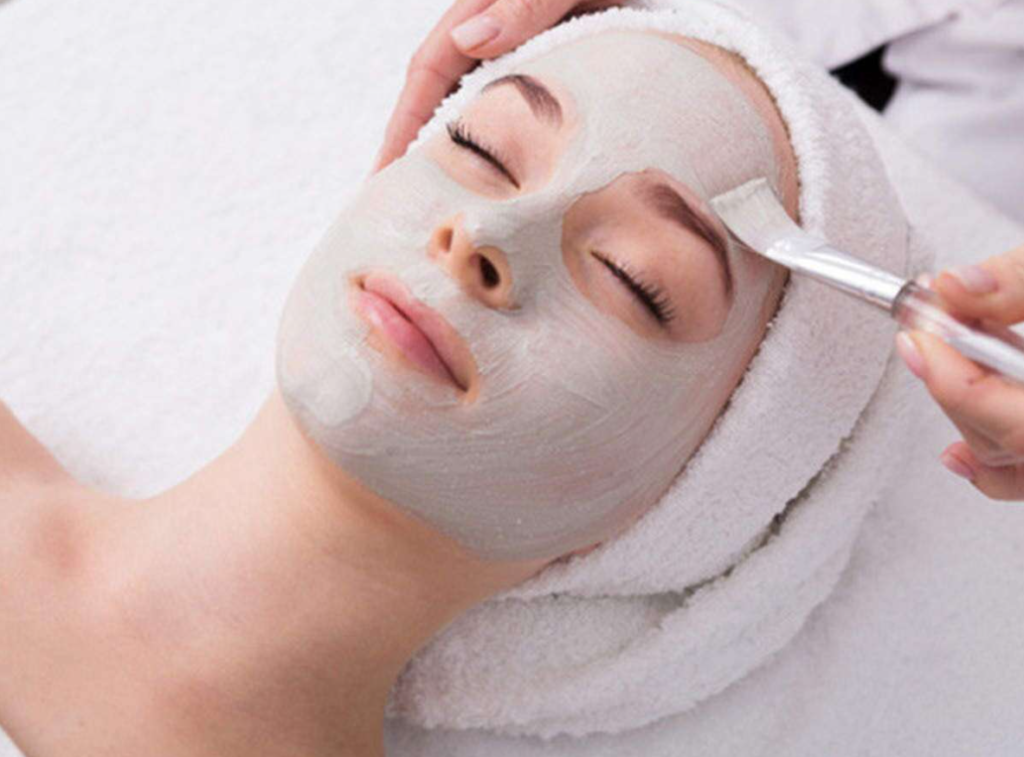
Step 5: Apply a face mask
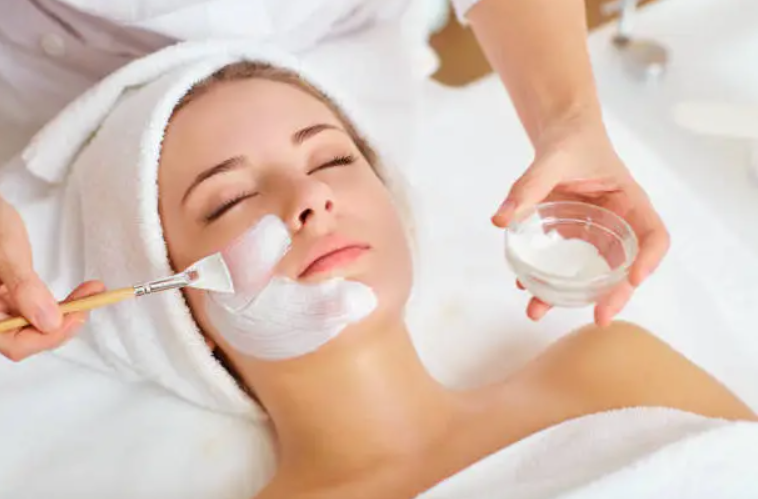
Now it’s time to pamper your skin with a face mask. Select a mask that addresses your skin concerns, whether it’s hydrating, purifying, or anti-aging. Apply an even layer, relax, and let it work its magic for the recommended time.
Step 6: Tone and moisturize
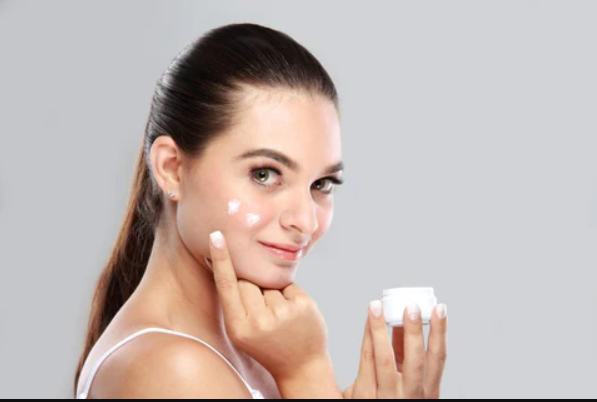
After removing the face mask, it’s essential to tone and moisturize your skin. Apply a toner to balance your skin’s pH levels and follow up with your favorite moisturizer. Don’t forget to apply a serum if it’s a part of your regular skincare routine.
Step 7: Final touches
To complete your DIY facial, add any final touches that you prefer, such as eye cream or spot treatment. These additional steps can help address specific skin concerns.

Mastering the art of DIY facials at home is not only cost-effective but also empowering. You have control over your skincare routine, and you can pamper yourself whenever you desire. With the right products and techniques, achieving that spa-like glow is entirely within your reach.
Click here, to HNN’s latest post.
ALSO READ: The Skin-Boosting Power of Orange Pills: A Comprehensive Guide to Their Benefits
Image source: Google


